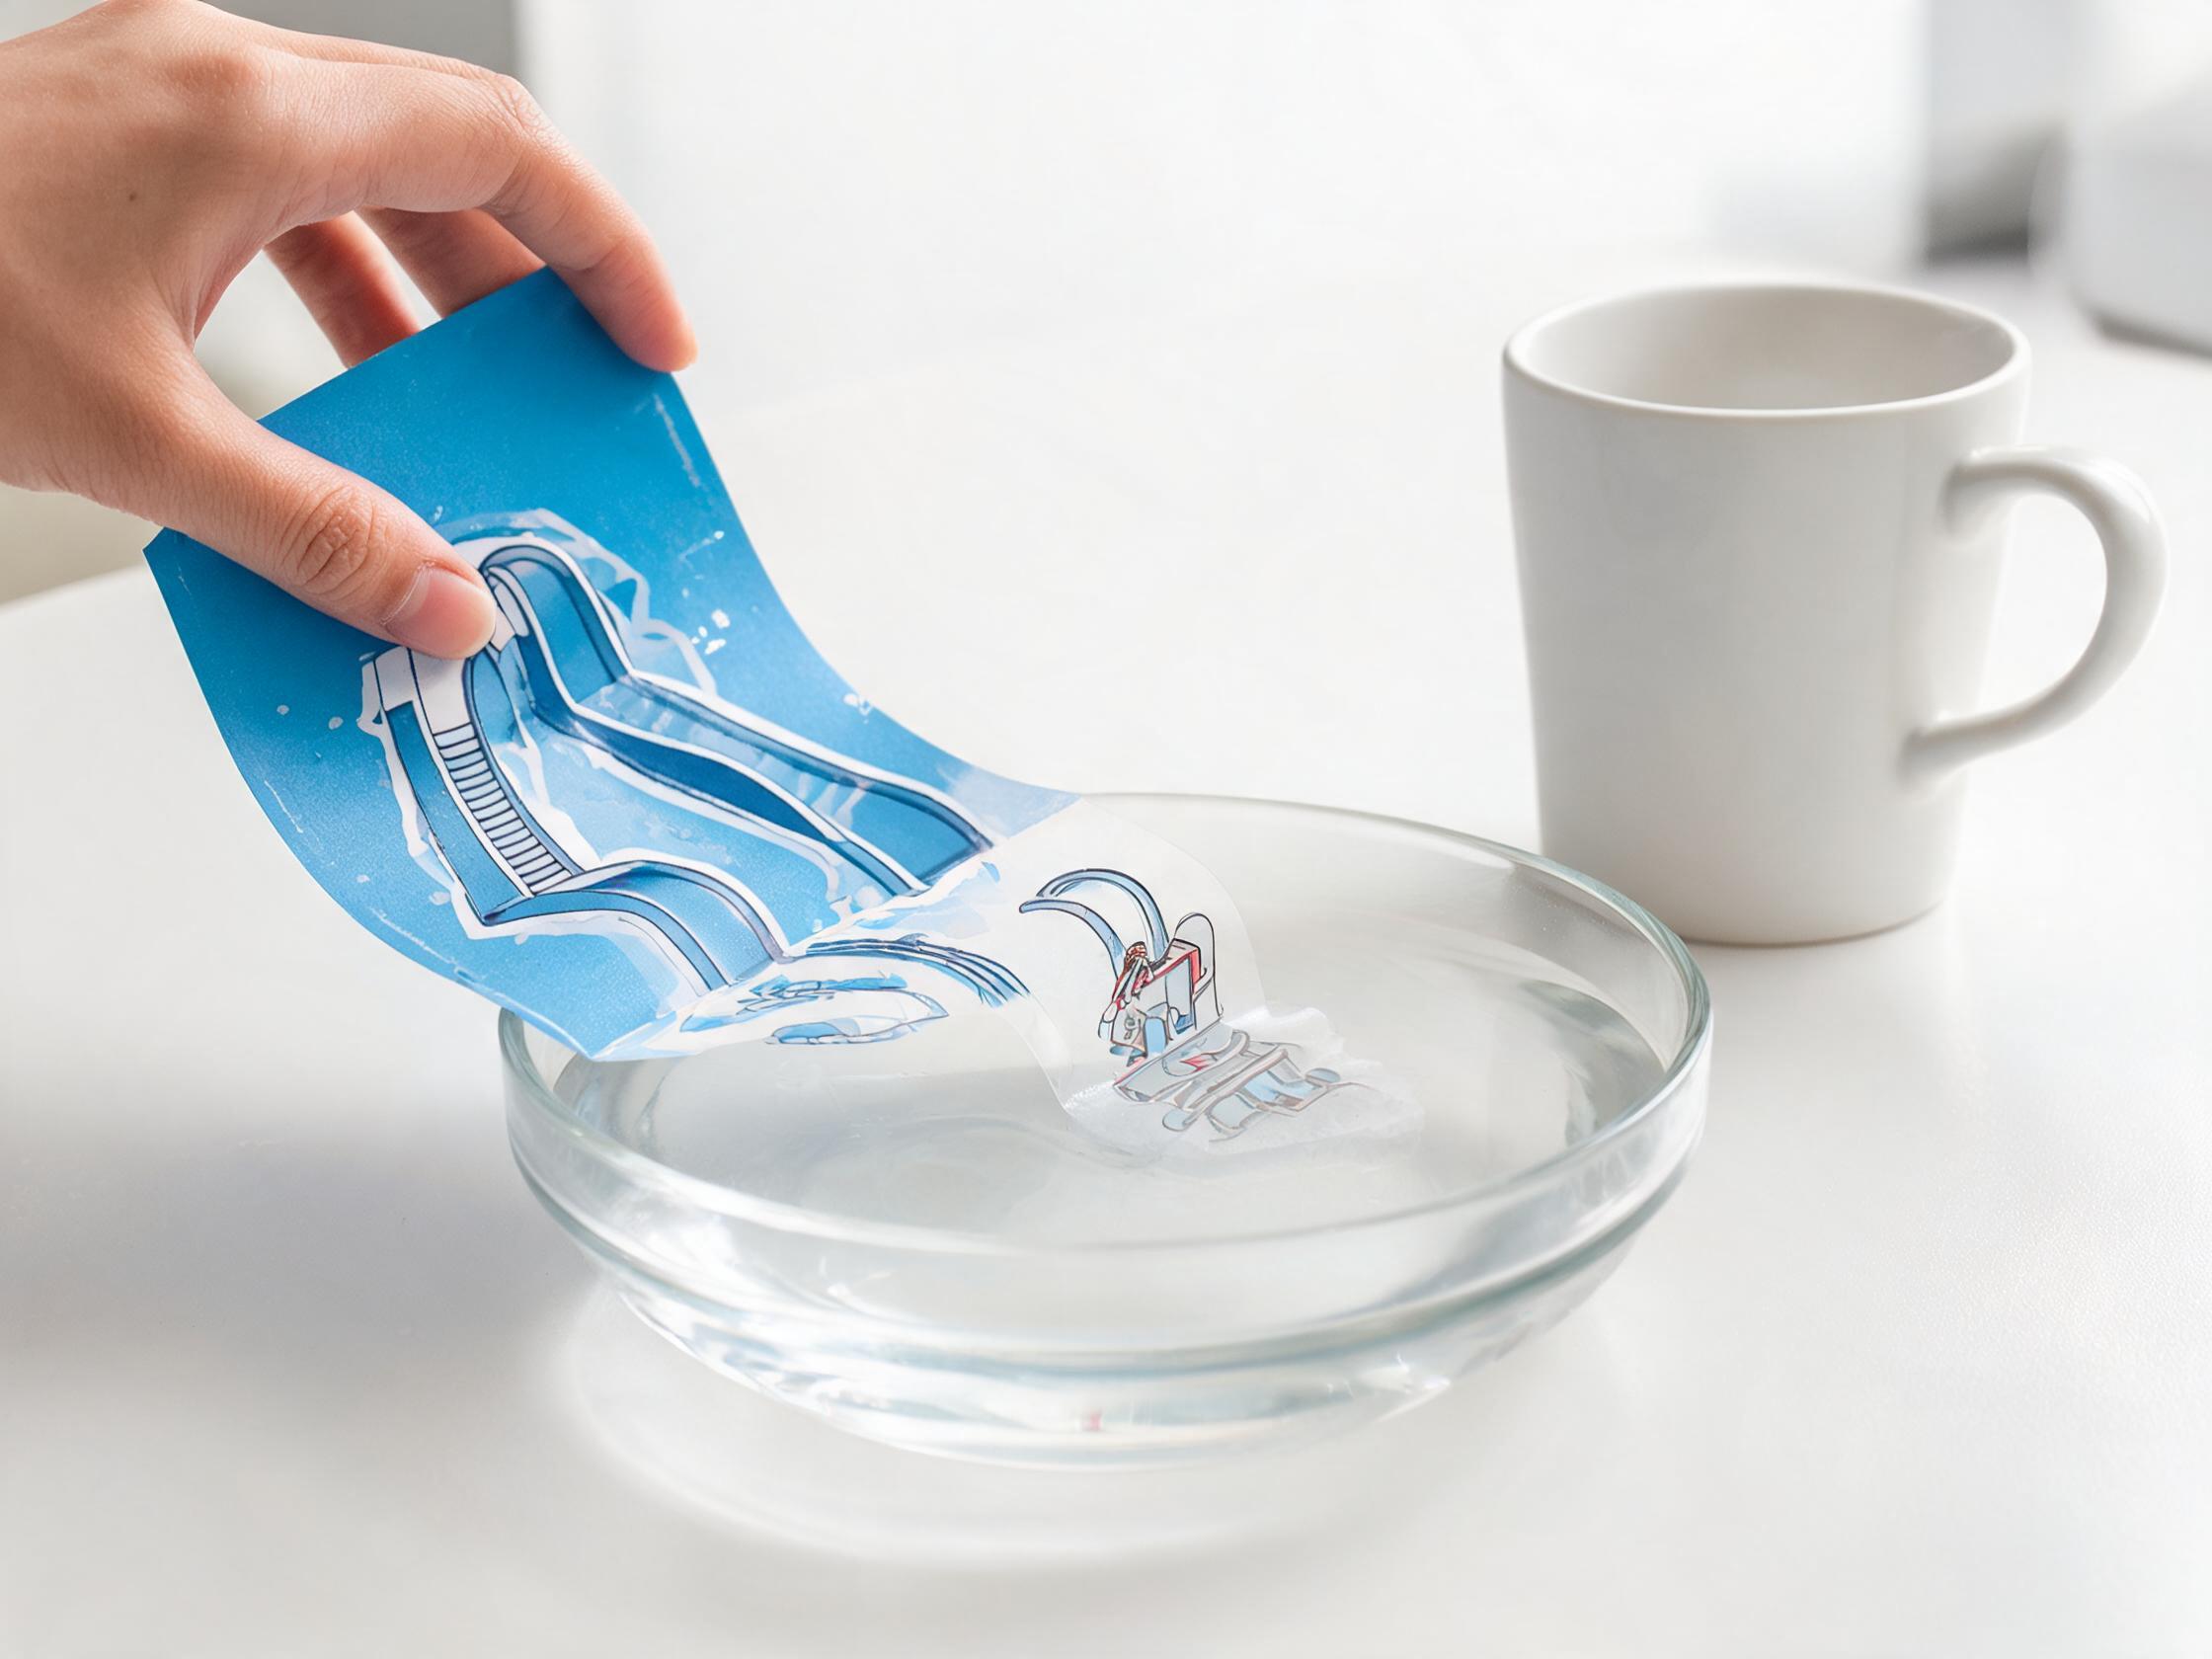
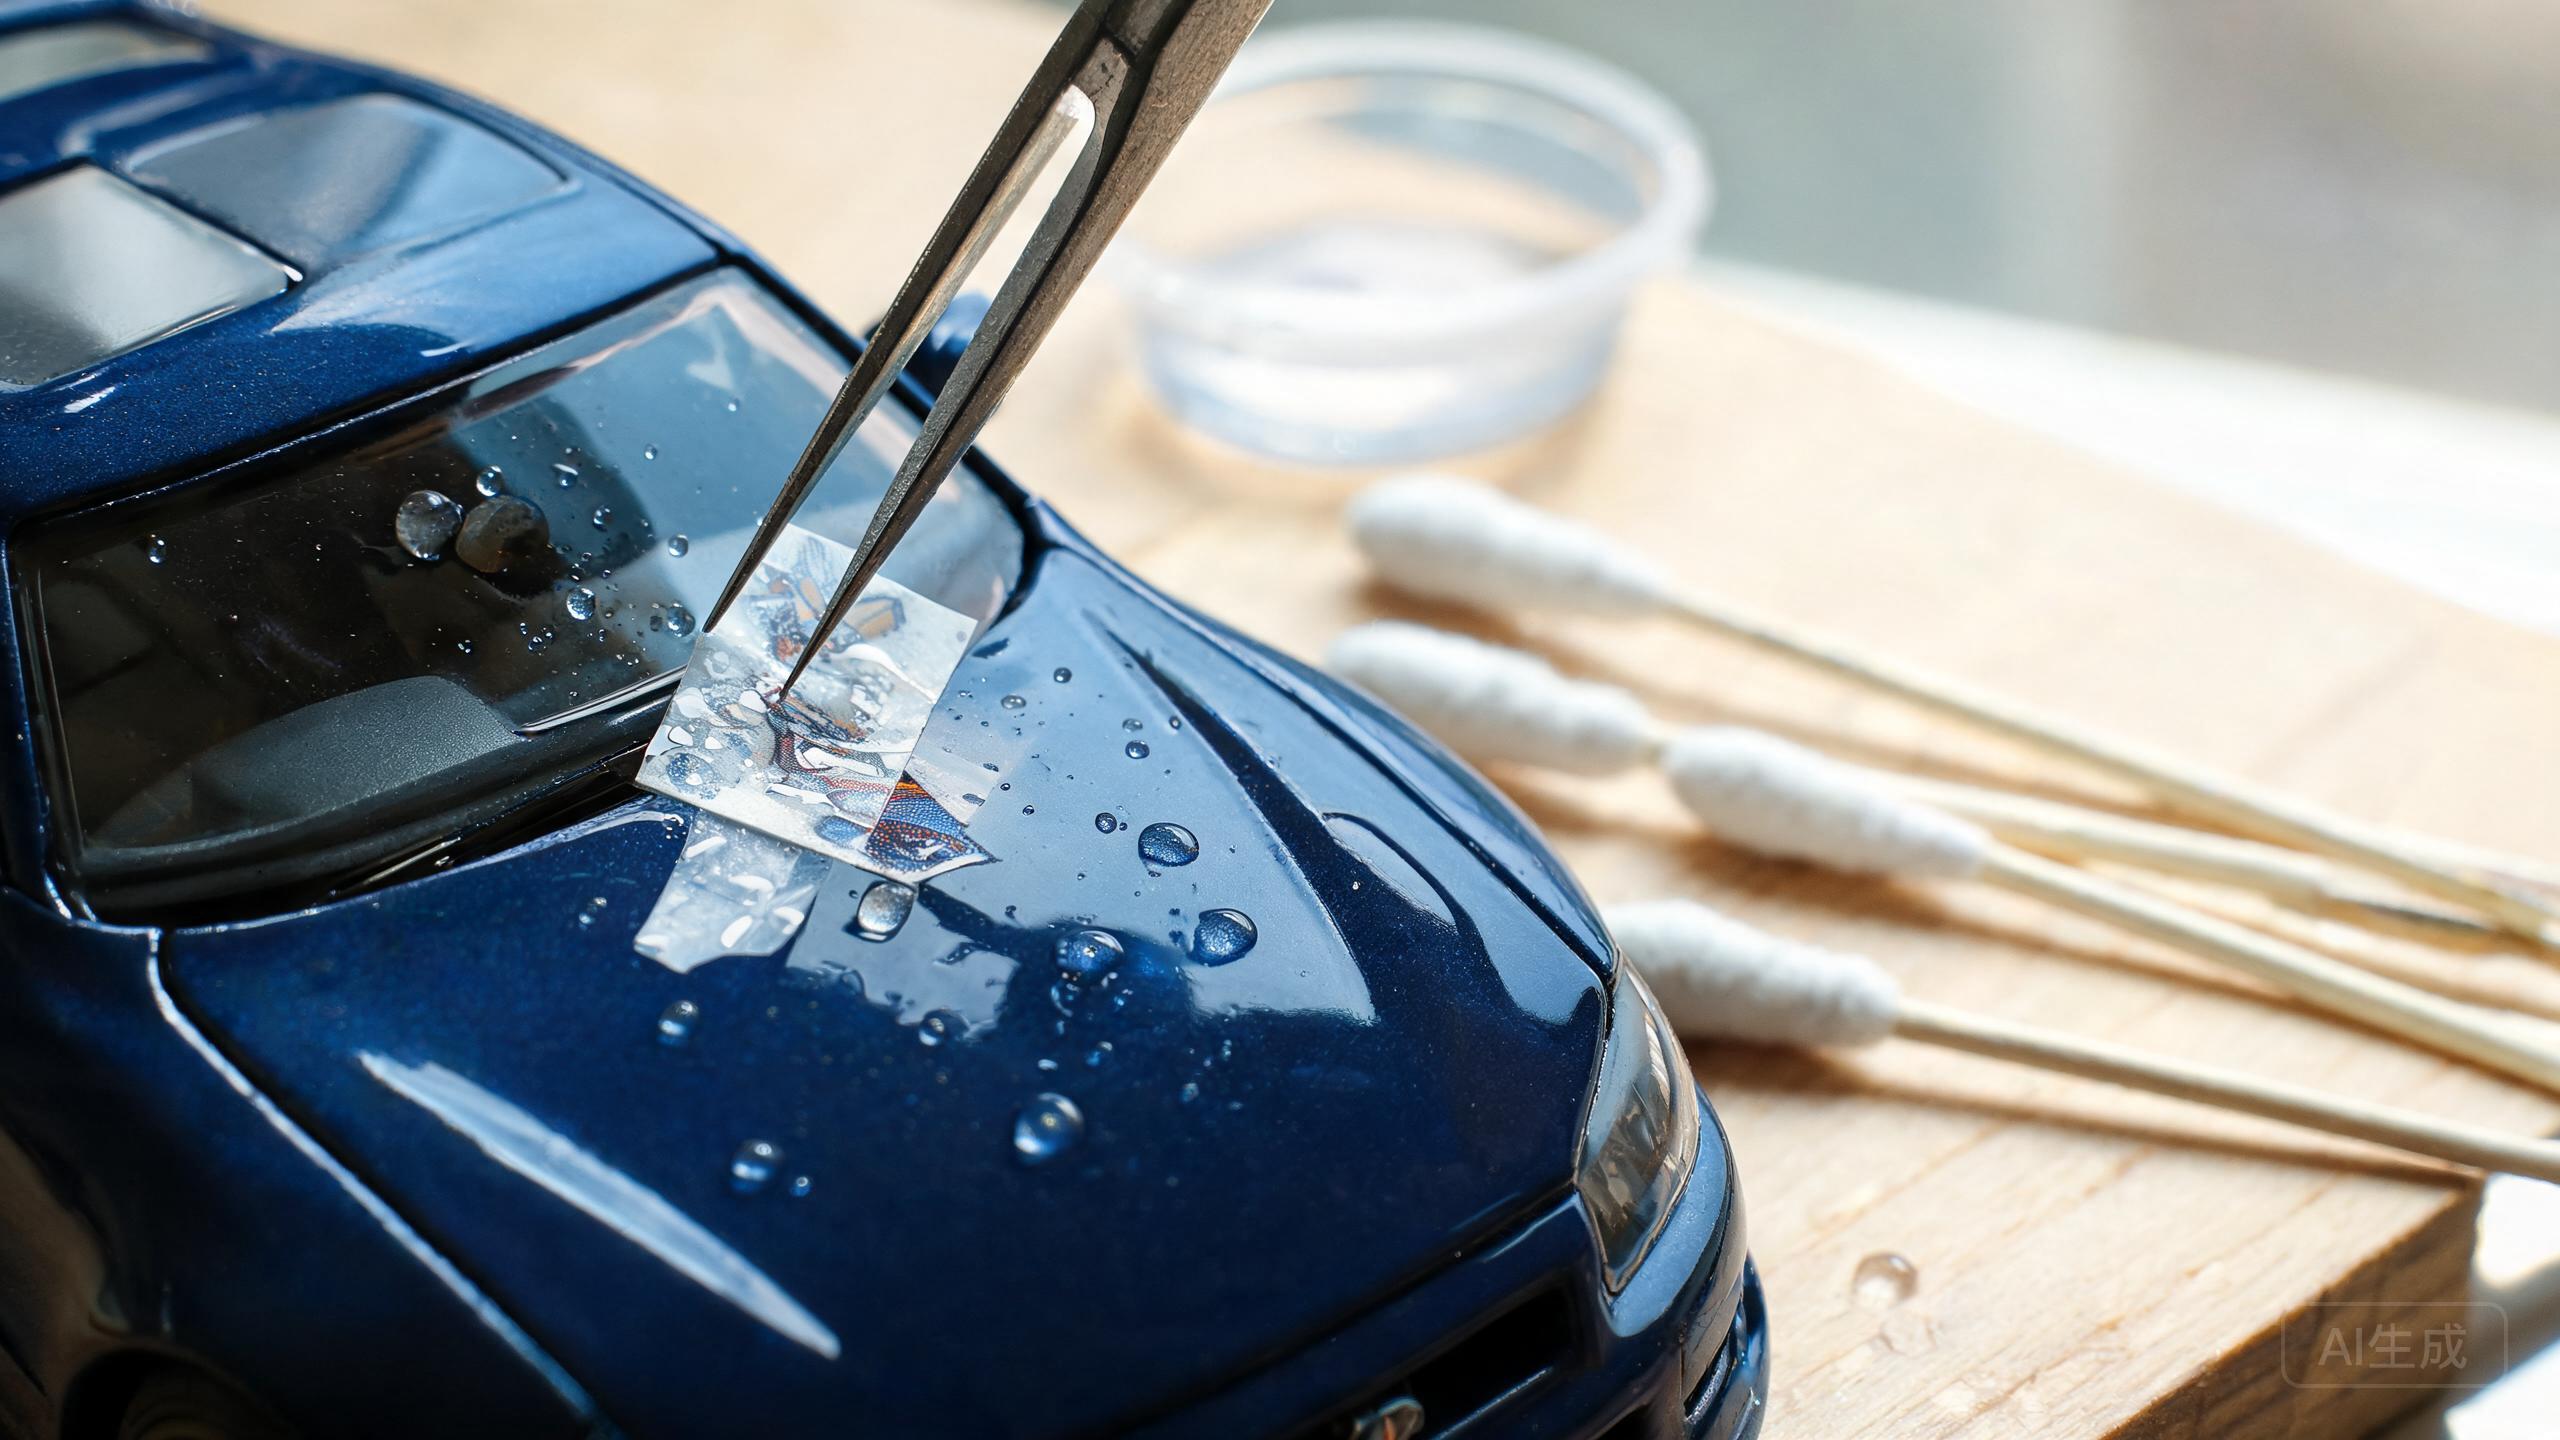
Even a perfectly printed custom waterslide decal looks amateur if it goes on dry, bubbly or "silvered." The good news: silvering - the speckled, foggy look where air is trapped under film - is almost entirely an application issue, and it is completely fixable. This is the application method our own sample team uses when we demonstrate decals to customers.
Tools you need
- Small sharp scissors or a fresh hobby knife and cutting mat
- A shallow tray of clean room-temperature water (a drop of dish soap per liter optional, to break surface tension)
- Tweezers - blunt or bent-nose is safer than sharp points
- Lint-free cotton swabs and a soft paper towel
- A setting solution (decal-setting/softening fluid) for curves and panel lines
- Your usual gloss clear coat for sealing
Step 1: Gloss coat the surface first
This is the step most beginners skip. Flat and satin paints are microscopically porous; decals applied directly trap air in every tiny valley. Spray or brush a gloss clear coat over the decal area and let it fully cure. The decal now sits on a smooth, non-porous bed, and the final finish coat will unify sheen afterward.
Step 2: Cut close - but not too close
Trim leaving about 1 mm of clear film around the artwork. Modern thin films show very little edge, and a hair of margin gives you something to grip. On multi-element sheets, cut one decal at a time rather than soaking the whole sheet.
Step 3: Soak, then wait for release
- Slide the cut piece into the water and leave it for roughly 20-40 seconds - don't force it.
- When the decal starts to move freely on its backing paper, it is ready. Over-soaking makes the adhesive dissolve and the decal curl.
- Lift it out on its backing and bring both to the model.
Step 4: Position with water still underneath
Place the backing at the edge of the target spot and slide the decal off onto the surface. With a flood of water under it, you can nudge it into exact position with a wet fingertip or tweezers. Once aligned, gently dab with a damp swab from the center outward, squeezing water and air to the edges. Blot - do not wipe.
Step 5: Use setting solution over detail
For panel lines, rivets, compound curves and places where the film bridges a recess:
- Apply setting solution under and on top of the positioned decal.
- Leave it alone for several minutes. The film will soften and visibly drape; it may wrinkle temporarily - that is normal.
- Dab softly with a wet swab to help it settle into the detail, then leave it flat and untouched until bone dry (ideally overnight).
Step 6: Seal with clear coat
Once 100% dry, mist a light first coat of gloss clear over the decal, then build normal coats once it flashes off. The film edge disappears and the marking becomes part of the paint job. Flat-finish modelers then apply their matte final coat overall.
Why silvering happens - and how to fix it
- Applied to flat paint: gloss coat underneath, remove and re-do the decal if already dry.
- Air not blotted out: prick tiny bubbles with a sharp needle, introduce setting solution with a brush, press flat.
- Decal too stiff for a curve: slit the film carefully over the deepest recess with a new blade, add softener, let it overlap and settle.
- Edge fog after drying: often trapped moisture, not air. Give it another 24 hours before deciding to repair.
Specific surfaces
On helmets, bats and hard goods, the same principles apply - gloss base, wet placement, clear overcoat - but use the coating system specified for that material (lacquer, enamel or two-part). On custom 1/24 model car decals, working section by section across the body keeps large liveries manageable. If you are ordering custom decals for your own product, tell us the substrate and coating; we can produce samples on the correct film and include a test piece with your order.